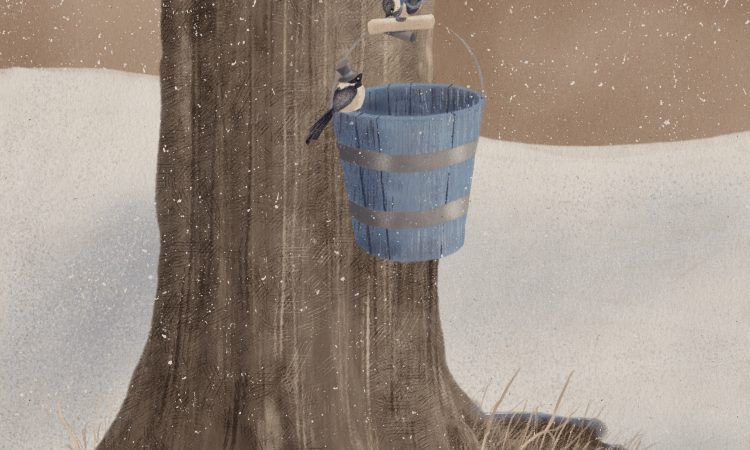
Farmhouse bucket list #2: Make Maple Syrup
Ever since Pa Ingalls declared it “sugar snow” time in Little House in the Big Woods, I’ve wanted to make maple syrup. I am fascinated by the process of pulling actual sap from a tree and it becomes something as delicious as syrup. Pure magic coming straight from nature.
So when we walked through the yard during our viewing and my realtor said “that might be a maple tree” I was determined to figure out a way to get syrup from my farm. Except, all I knew about it was that it takes 40 gallons of sap to make just 1 gallon of syrup. So since I did not have a full maple grove, I had no idea whether I’d even be able to get much of anything at all. But nothing was going to stop me from figuring it out because I’m stubborn like that. I purchased myself a beginners tapping kit and started reading up on how to tap syrup.
Step 1: Locate your maple trees
I am no tree expert. And all I had on hand was a photo of a maple in a nature book I own. So I took the picture out and started looking at all my trees, trying to find maples.
Except, they all kind of looked like the picture. But none of them looked like each other. And what happens if you tap the wrong tree? Is it like trying to milk a goat instead of a cow? Or is it more like trying to milk a bull? So I did more research. A lot of research. Until I found 4 trees that I was 85% certain were maple. Okay maybe 75%.
Step 2: Wait until the weather is above freezing during the day and below freezing at night.
Okay, this seemed like an obvious step but turned out more difficult than I thought. I checked the weather diligently until I came upon a day that met the criteria. I piled all my tapping tools into a backpack and was on my way.
I ended up putting 7 taps in my trees as they were good sized and big enough for two taps. By the last few, my drill was dying so I only got to 7. But as soon as I drilled, sap started pouring out like water. I finished up, thanked each tree for their contribution, and went back inside.
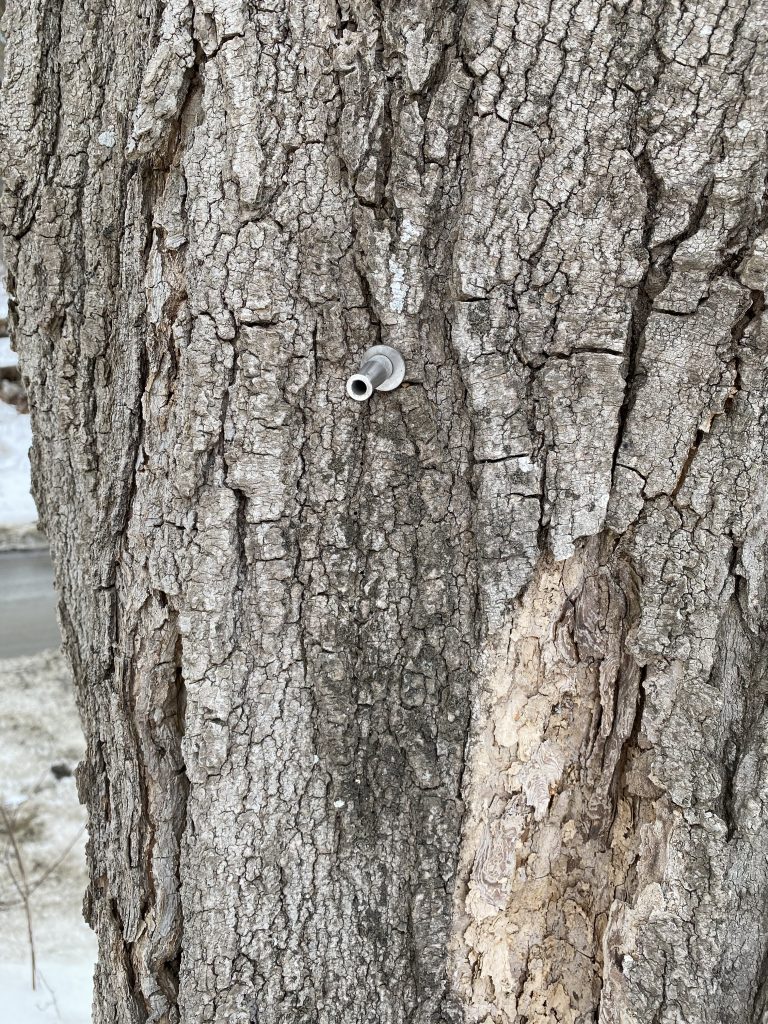
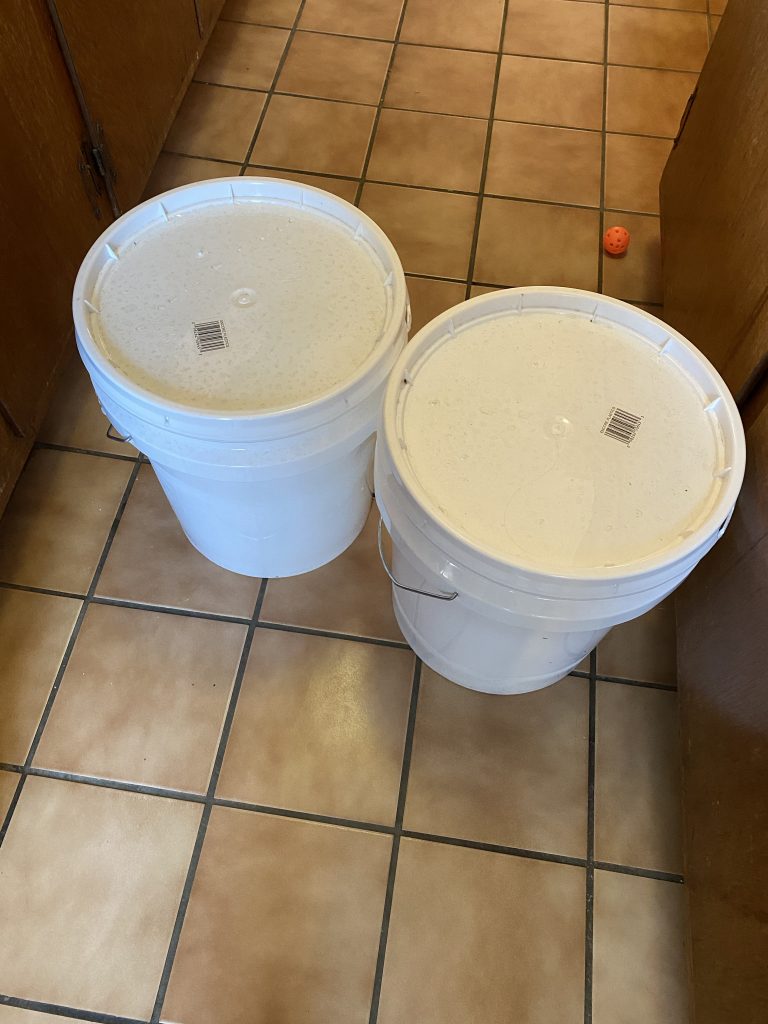
That night it was down to freezing again. Which was perfect! Except the next day stayed down low. But I tapped on a day that met the criteria so I figured I was good. That next day, Donovan and I grabbed my 5 gallon bucket and went to go gather our harvest (is it a harvest if it’s sap?). Only to find it all frozen solid. And not going anywhere.
So I decided, what could go wrong with it being frozen and left it until the days warmed up again.
This took another 5 days.
Step 3: Gather your sap
When the weather finally got back to prime maple tapping weather, I was at it again! This time it was mostly thawed enough for me to put in my bucket. The first 2 taps were about a gallon full and I was feeling pretty darn good about my achievements. The 3rd tap turned out to have a hole in gate bag and most had dripped out.
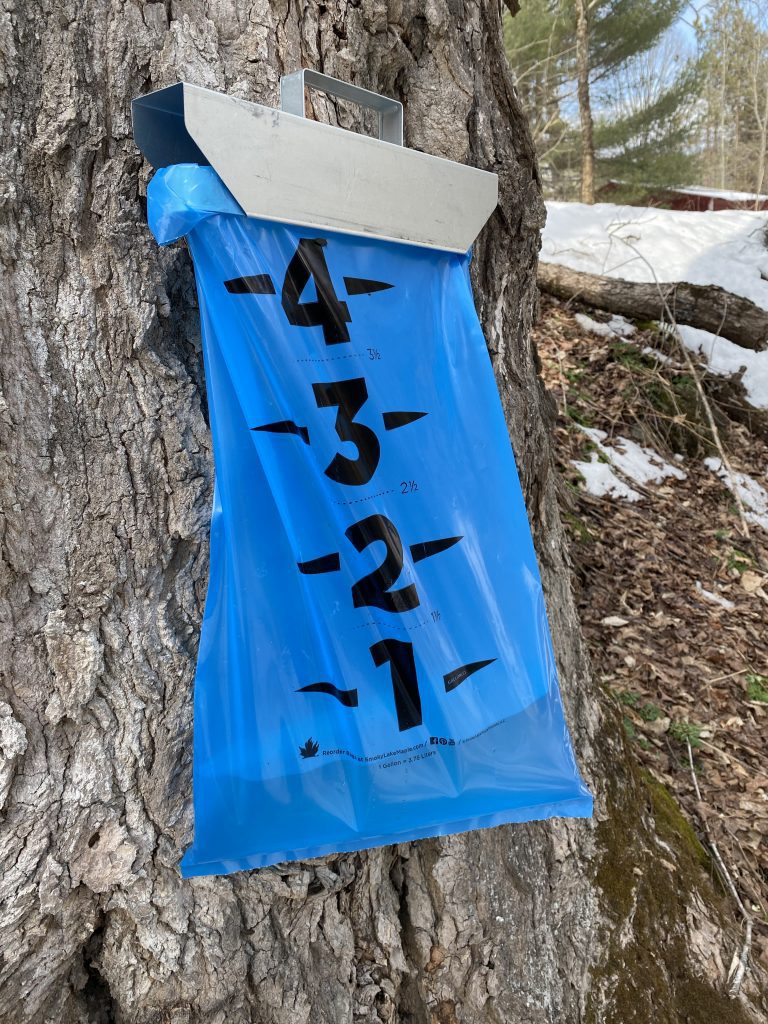
4th tap was placed on the backside of a tree which required me to climb down a hill to retrieve. I cautiously walked down, placed my bucket in place and went for the bag…
…and that was when I slid down the hill. Taking my bucket of sap with me.
If you ever spent an hour pumping breast milk only to have it spoil, you know a little about how I felt at that moment my liquid gold sap went pouring down the hill.
Luckily, there were some large ice chunks left over so I quickly grabbed those but most of my precious sap was gone.
The last two trees were not decent sappers and gave me very little. So, in all it was not my best collection.
But I collected a few more days and was able to get about 7 gallons total. So I felt pretty good about that. I never did get much from the last two trees. But got a good deal from the first. So I will probably stick with those in the future.
Step 4: Boil sap
Now this is where directions got a little vague. Because everything I read pretty much just said boil and don’t stir until done.
The closest thing I found to a temperature was if I were to make maple sugar than boil at medium high. Everything I remember from cooking class alerted me that sugar burns quickly when not stirred so I went with medium high and started at early afternoon in case it took several hours. And then I hoped for the best.
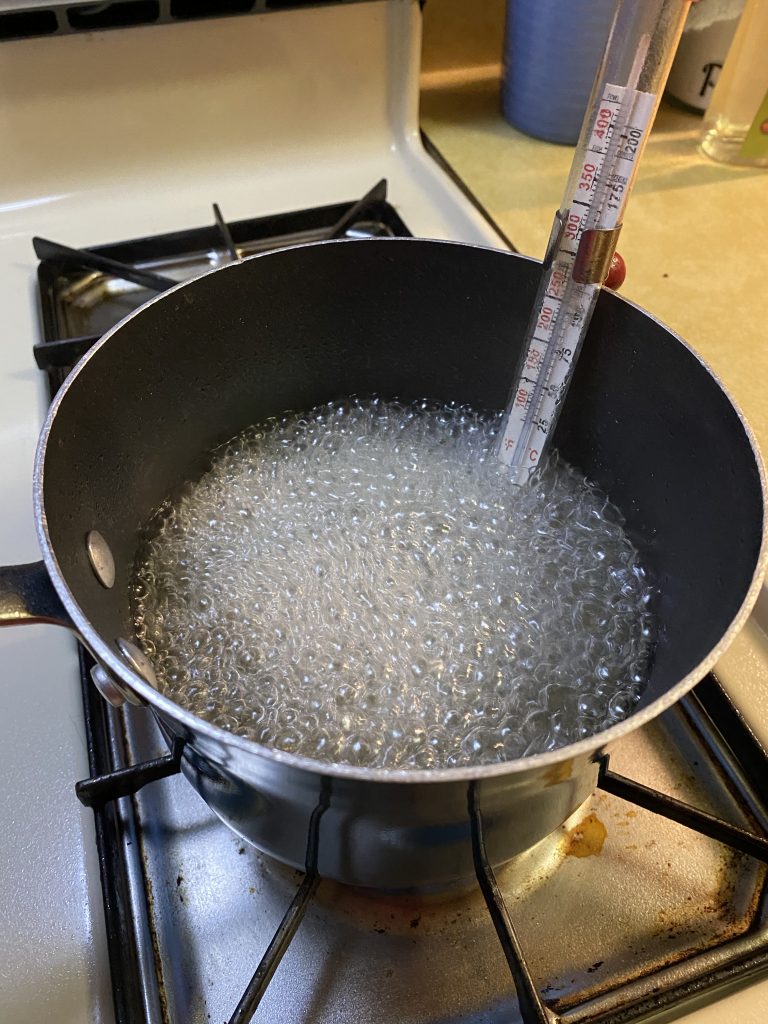
Step 5: boil until it reaches 7 degrees above boiling point for your location.
Well now that sounded complicated. Because I had no idea what the boiling point of my location was. So I looked up how to figure out the boiling point.
Simple, all you need to know how high above seas level you are.
Except I had no idea how high above sea level I was.
So I had to look that up as well. And as far as I could tell, my boiling point was around 211.92 degrees.
I put in my candy thermometer and waited. Except my thermometer measures in 5 degree increments. And it already looked like it was around 218 degrees. Which made it pretty much useless. I decided to go with the method that said “wait until browned and tastes good.” because that is what I can handle.
Step 6: Keep adding sap when it gets low
Okay, well as I only had a small soup pot, this was a definite. So I would let it boil, add more sap, boil again, add more sap.
Over and over again.
Now the amount of time given varied between instructions guides. In fact, it varied between 30 minutes to several hours. Which was not helpful in planning your day around maple cooking. One guide even said it was essential you watch your pot boil so you don’t ruin it.
So I watched.
And watched.
And watched.
And sat next to it and called my Grandma.
And sat next to it and read.
And sat next to it and drew.
And 5 hours later it was time to start our family movie night and I was maybe halfway through my sap. At this point I decided to hike it up to high temp because it obviously wasn’t burning. It was just boiling.
So we watched our movie and every 30 minutes I’d go check on it and add more sap if needed.
And then the movie got over and the sap had now been boiling for 7 hours at least so I decided to stop adding sap, put the bucket outside to boil another day and finish what I had.
Step 7: Sap will brown in color.
9 hours into this whole thing, I was down to a medium sized pot of sap. I felt like it should be about done. I put a spoon in and it tasted like syrup. Except it looked pretty much the color it was when I put it in. Which is clear.
And at this point I began to panic that I did it all wrong and tapped an oak tree or something and failed at my mapling endeavors completely.
But thankfully we have the internet.
So again I researched.
Turns out that at the beginning of the season, maple syrup comes out light golden. It gets darker and richer as the season progresses.
So, in fact, I had done nothing wrong!
Step 8: Using a funnel and cheese cloth, filter the syrup into a bottle.
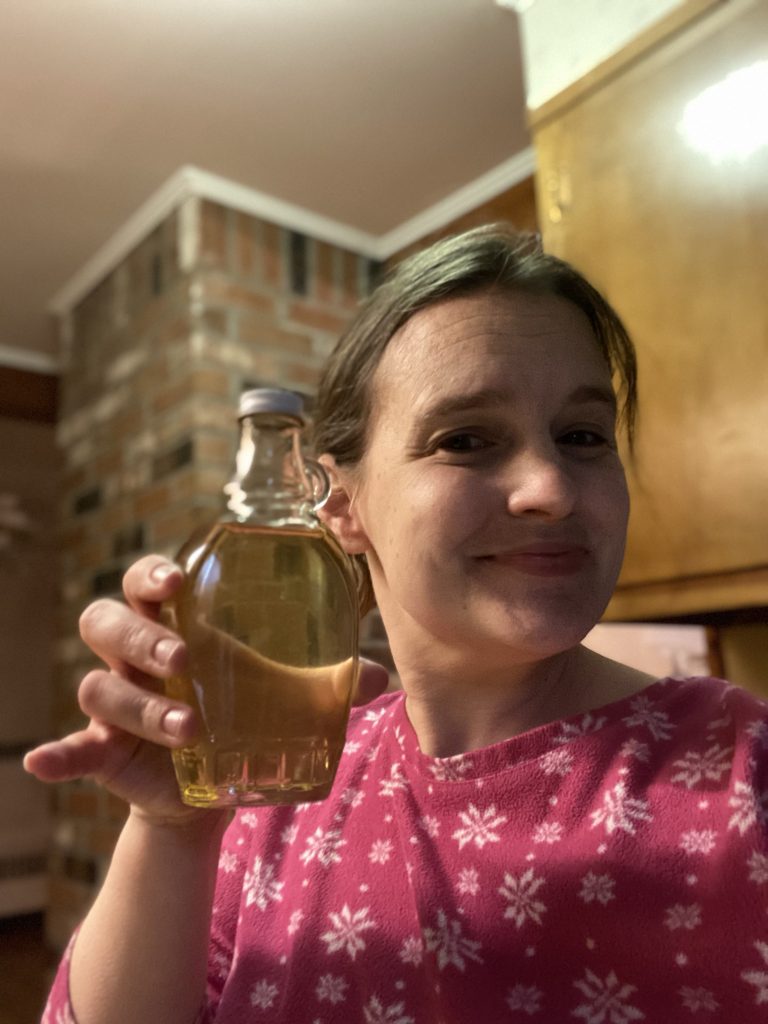
Now, of course I got adorable little bottles just for my syrup. But it was now 11 o clock and I had been making syrup for 10 hours. And I was tired. But with Tyler’s help, he held the funnel and cheesecloth in place while I poured. I poured it in and we watched as it went into the funnel….
and then stopped.
We couldn’t figure out why until we looked down and realized we had filled the jar and now had to figure out how to get the funnel full of syrup into the next jar without making a mess.
This, of course, is impossible.
Almost half a bottle of syrup ended up on the counter.
But we managed a jar and a half so I called it a success!
Step 9: Boil syrup to 55 degrees over boiling point to make maple sugar or maple candy
Well, I certainly wasn’t going to pass up on this one! The next day, I boiled the rest (this time on high which went a bit faster), got 2 bottles total, and left a bit in the pot to make some yummy candy.
Boiled it to perfection to the “hard boil” stage and it was all going perfectly.
Step 10: hand stir or beat in mixer until a paste for candy or a powder for sugar.
Turns out there’s about a fraction of a second before paste becomes powder.
Needless to say, I have a little jar of maple sugar but no candy. Next time maybe.
And that is my longwinded adventure in making maple syrup. I learned enough that I’m going to give it another try this week. And see if I get any darker and also if I can get some candy. I ordered a bigger pot so that I can cook more of it at once and cut even more boiling time off of it since I don’t have to wait fo it to start boiling again. I also bought a new candy thermometer with a more precise measurement. I mean business now!
Hopefully soon I can get canning supplies too so I can can my syrup!

